The DT-X8 can either be equipped with a laser scanner or an imager (CMOS-Camera). You will find an overview with all readable codes in the software manual. |
| Q: | Laser Demo Tool (Barcode Demo) |
| A: |
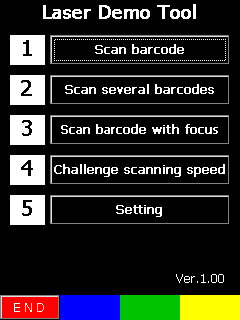
You will find a demo program for simple tests and presentations under START, PROGRAMS, UTILITY (only 10-models). The laser scanner can only read 1D barcodes or stacked 1D barcodes.
In the same menu as the demo program you can find the program BARCODE READ. This scanner wedge is running invisibly in the background and puts the collected to the respectively actual cursor position. If this wedge is used a complex own development can become unnecessary. |
| Q: | Enhanced Laser and Imager Scanner Application |
| A: |
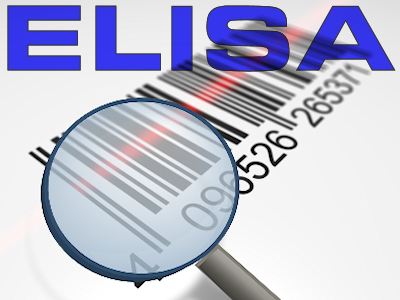
As an enhancement to the integrated Imager / Laser Scanner Wedge Application, an Enhanced Laser and Imager Scanner Application ("ELISA") is available with enhanced features such as Bulk Scanning, Aimer Mode, Barcode Filter, Counter Window etc.
|
| |
ELISA.zip |
16.7.2018 |
Enhanced Laser and Imager Scanner Application |
2.26 |
|
|
| |
| Q: | Scanner Setting |
| A: |
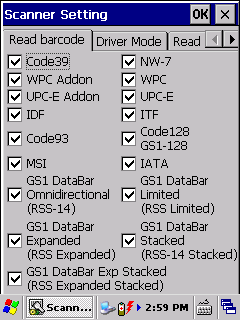
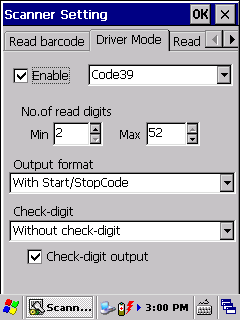
Setting for the laser scanner can be done under START, SETTINGS, CONTROL PANEL. The settings will be saved in a configuration file.
The settings are only valid for the scanner wedge (Barcode Read) and own programs. The Laser Demo Tool (see above) does always run with the default settings. |
| Q: | Troubleshooting |
| A: |
Please check the points mentioned below:
- Use one of the trigger keys to start the scanner.
- The Scanner-Wedge can only be used when the symbol for the scanner is displayed in the status bar.
- The scanner only processes codes that have been activated with the matching settings.
- Please pay attention to the correct reading distance from the scanner to the label (4 – 40cm).
- Damaged labels cannot be processed by the scanner.
|
| Q: | How can I configure the scanner for the Remote Desktop Connection (RDP)? |
| A: |
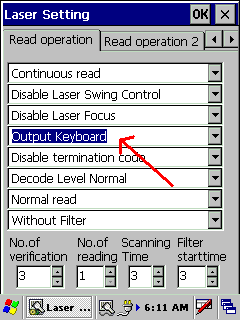
You can make your settings for the scanner at Start, Settings, Control Panel, "Scanner Setting". Go to the tab "Read Operation", and select "Output Keyboard". In the field below specify whether you need an additional termination code, e.g. the tabulator, or not. Confirm your settings with OK. Once you have finished making your settings, launch the scanner wedge again at Start, Programs, Utility, "Barcode Read".
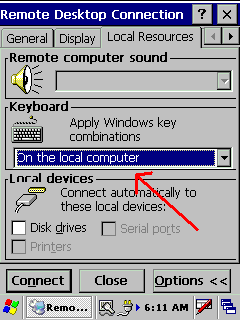
Last but not least configure the Remote Desktop Client software. Set "Apply Windows key combinations" to "On the local computer”. You can find the settings window for key combinations in the dialog box of the RDP client. For further details refer to the Software Manual.
|
| A: |
If you find it difficult to edit RDP settings on your mobile device, you can also modify the configuration file on your PC and copy it afterwards to your mobile device again. Please find below a sample configuration. |
|
| |